Exclusive Wallcovering Preparation Process
It’s not just about picking the right Wallcovering for your living room, bedroom, or business space. Installing it in a professional manner is as equally important, if not more so. And before you start with wallpaper installation, you have to make sure that your surfaces are properly prepared for the work.
There are 3 seemingly simple steps that our experts utilize every day, to provide the premium look and feel of your walls. Check out the wallcovering preparation process that our painting & decorating company applies before any wallpaper installation.
The Level 5 Finish
With the exclusive new wallcoverings being so expensive to purchase, the homeowner needs to make sure the walls are all properly prepared. The surface needs to be in excellent condition.
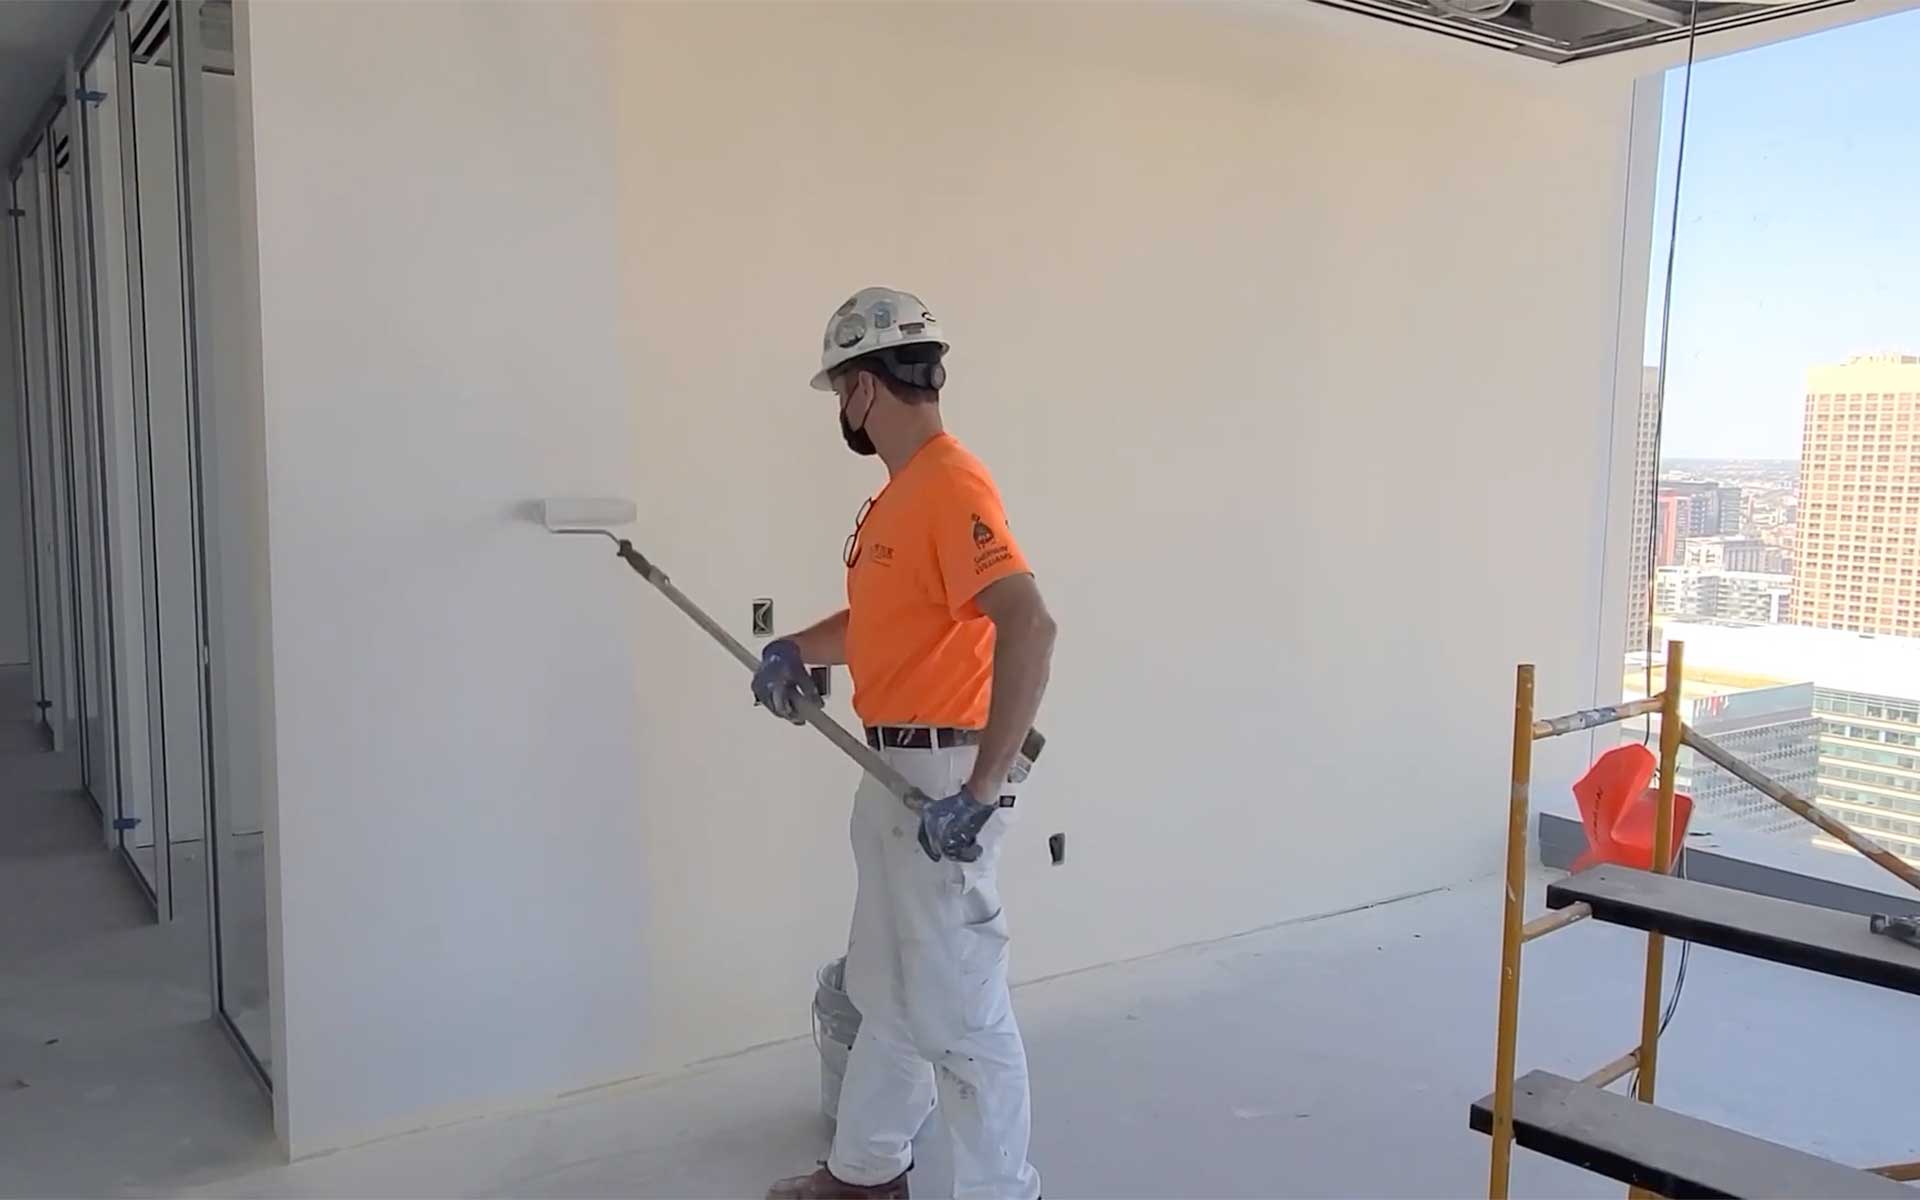
Any imperfection on your walls will be very obvious through the wallpaper. At Hester Painting & Decorating, we highly recommend going the extra step and having the contractor prepare the walls for you, and bring them up to a Level 5 finish.
The Level 5 finish is a premium finish and has the highest degree of quality. It requires a skim coat of joint compound to cover the entire surface. This provides a uniformly smooth surface that helps in eliminating the possibility of any joints, bumps, or imperfections from showing through the wallpaper.
Choosing the Right Wallcovering Paste
After the Level 5 Finishing, the installer needs to make sure that all of the manufacturer’s instructions and best practices are followed through. The installer should make sure that the walls are primed, and use only the paste that is specified.
These might seem like insignificant details – some people might think “paste is paste”, but it does matter because some are used with different wallcovering materials and are generally safe, but other pastes might have a bad reaction with the materials.
We practice a safe approach and use the products outlined in the manufacturer’s directions. It’s just standard practice.
Gracie and de Gournay Liner Paper Installation for a Premium Look
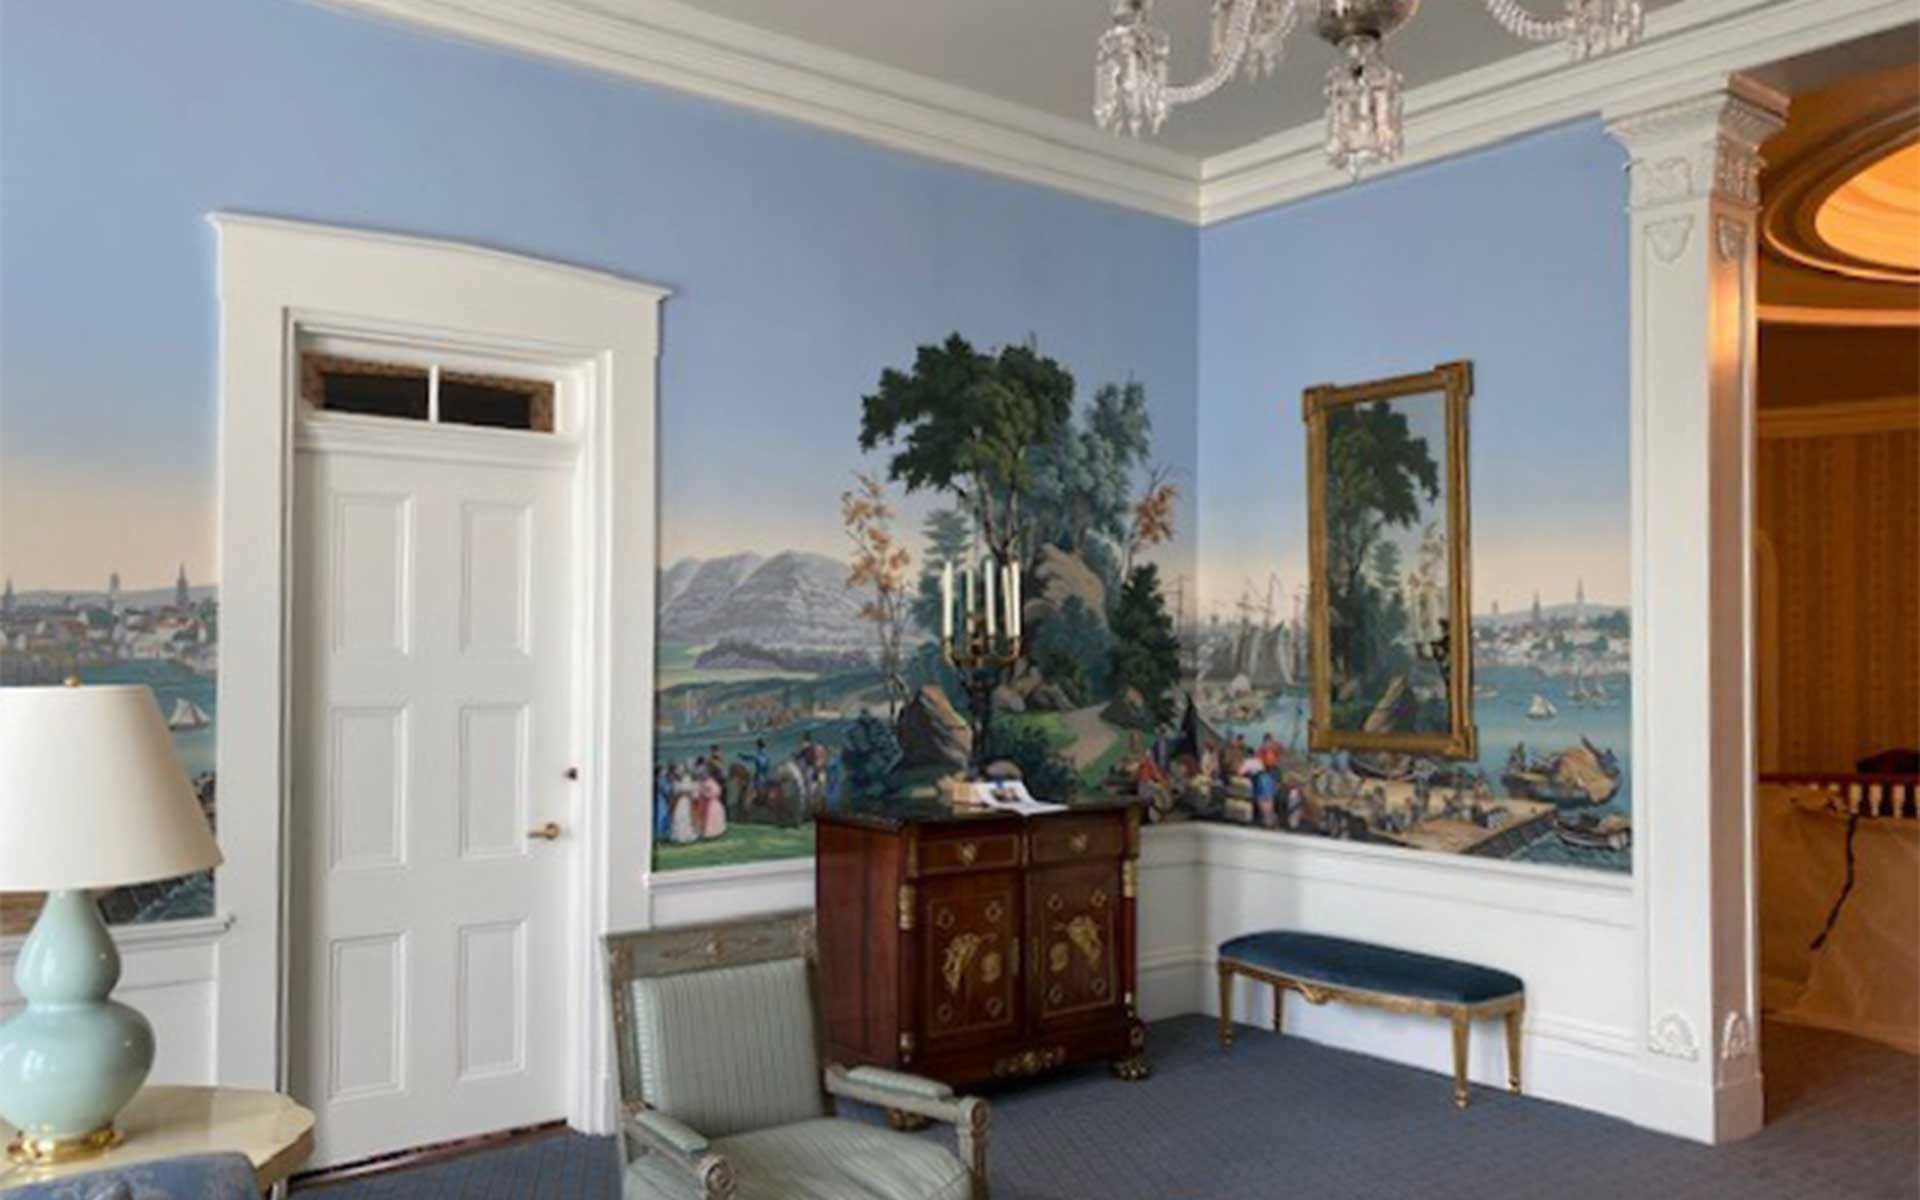
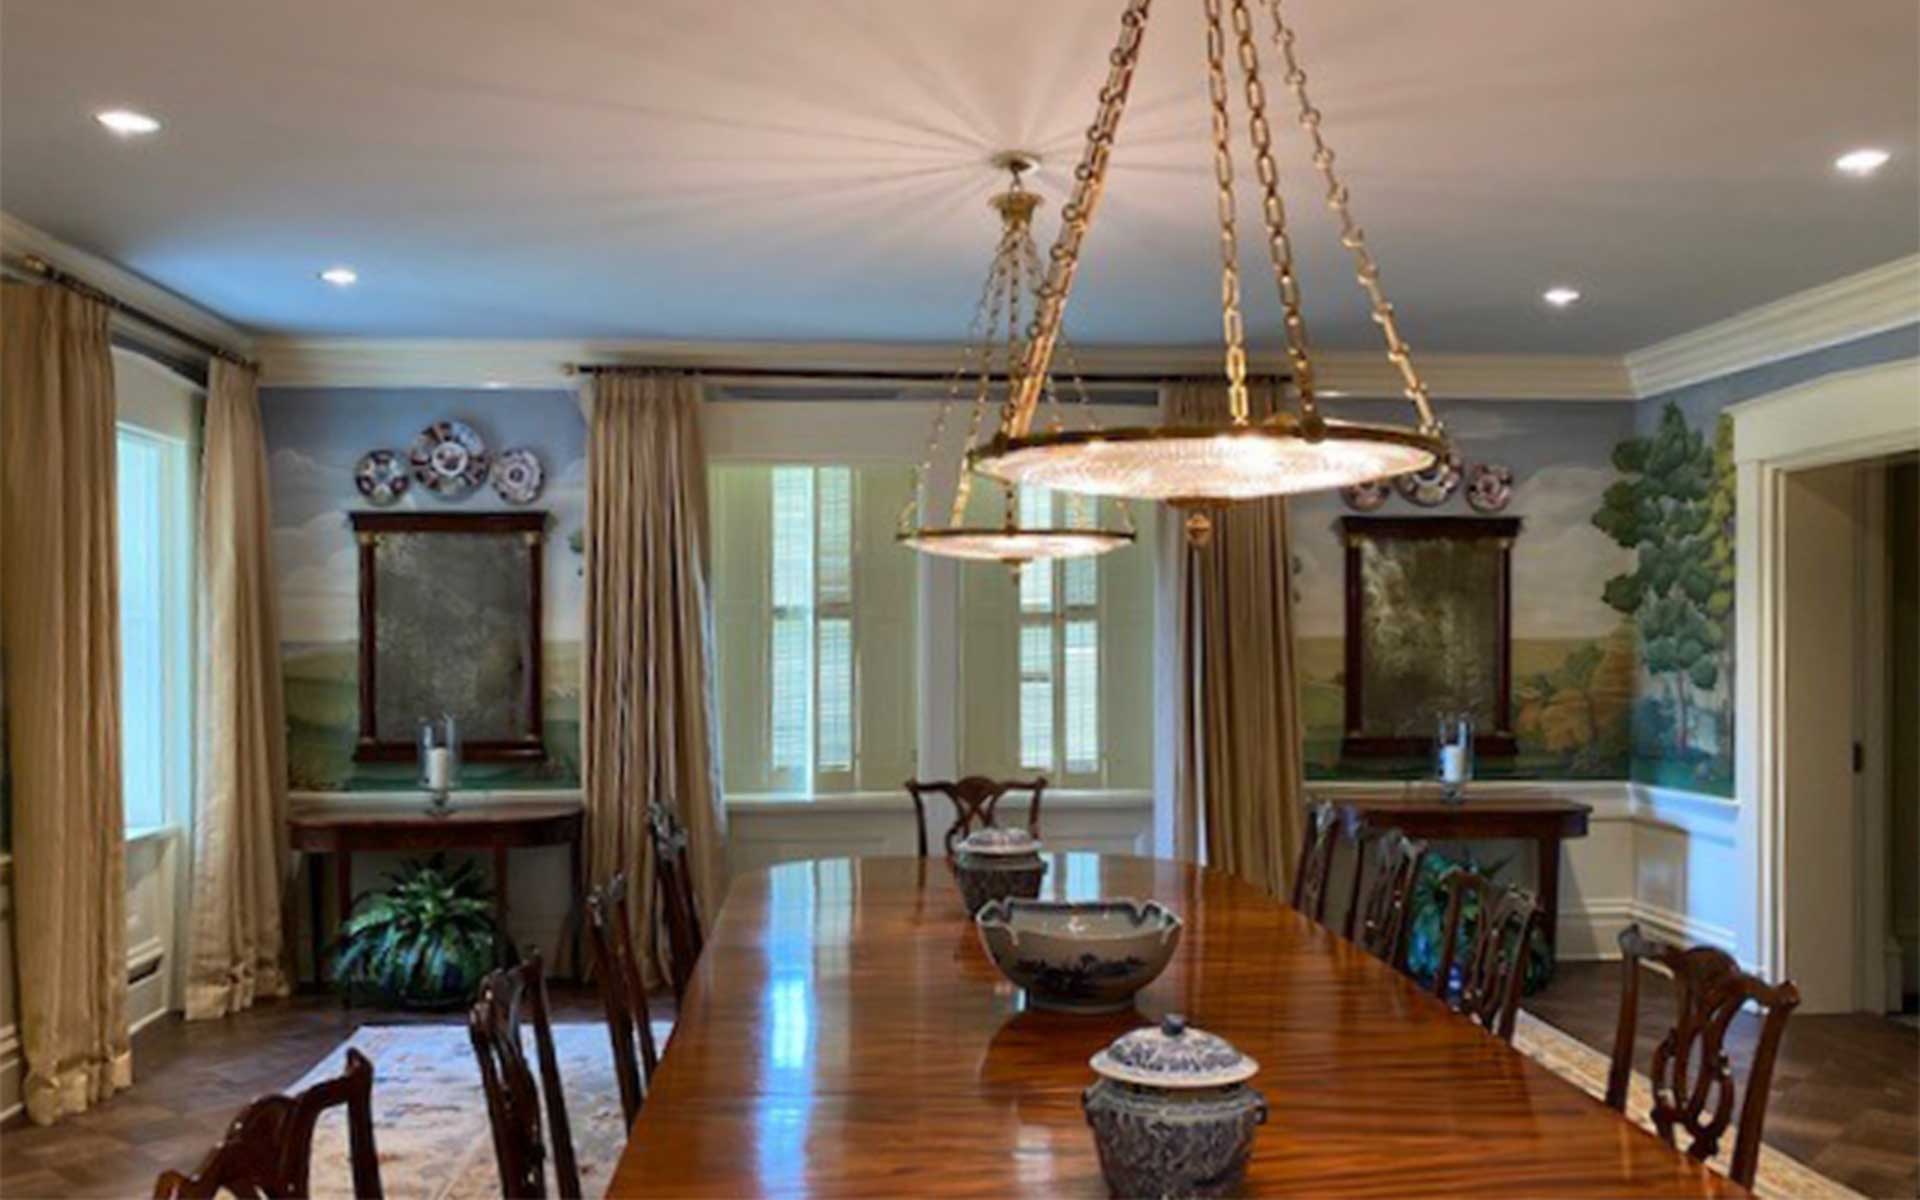
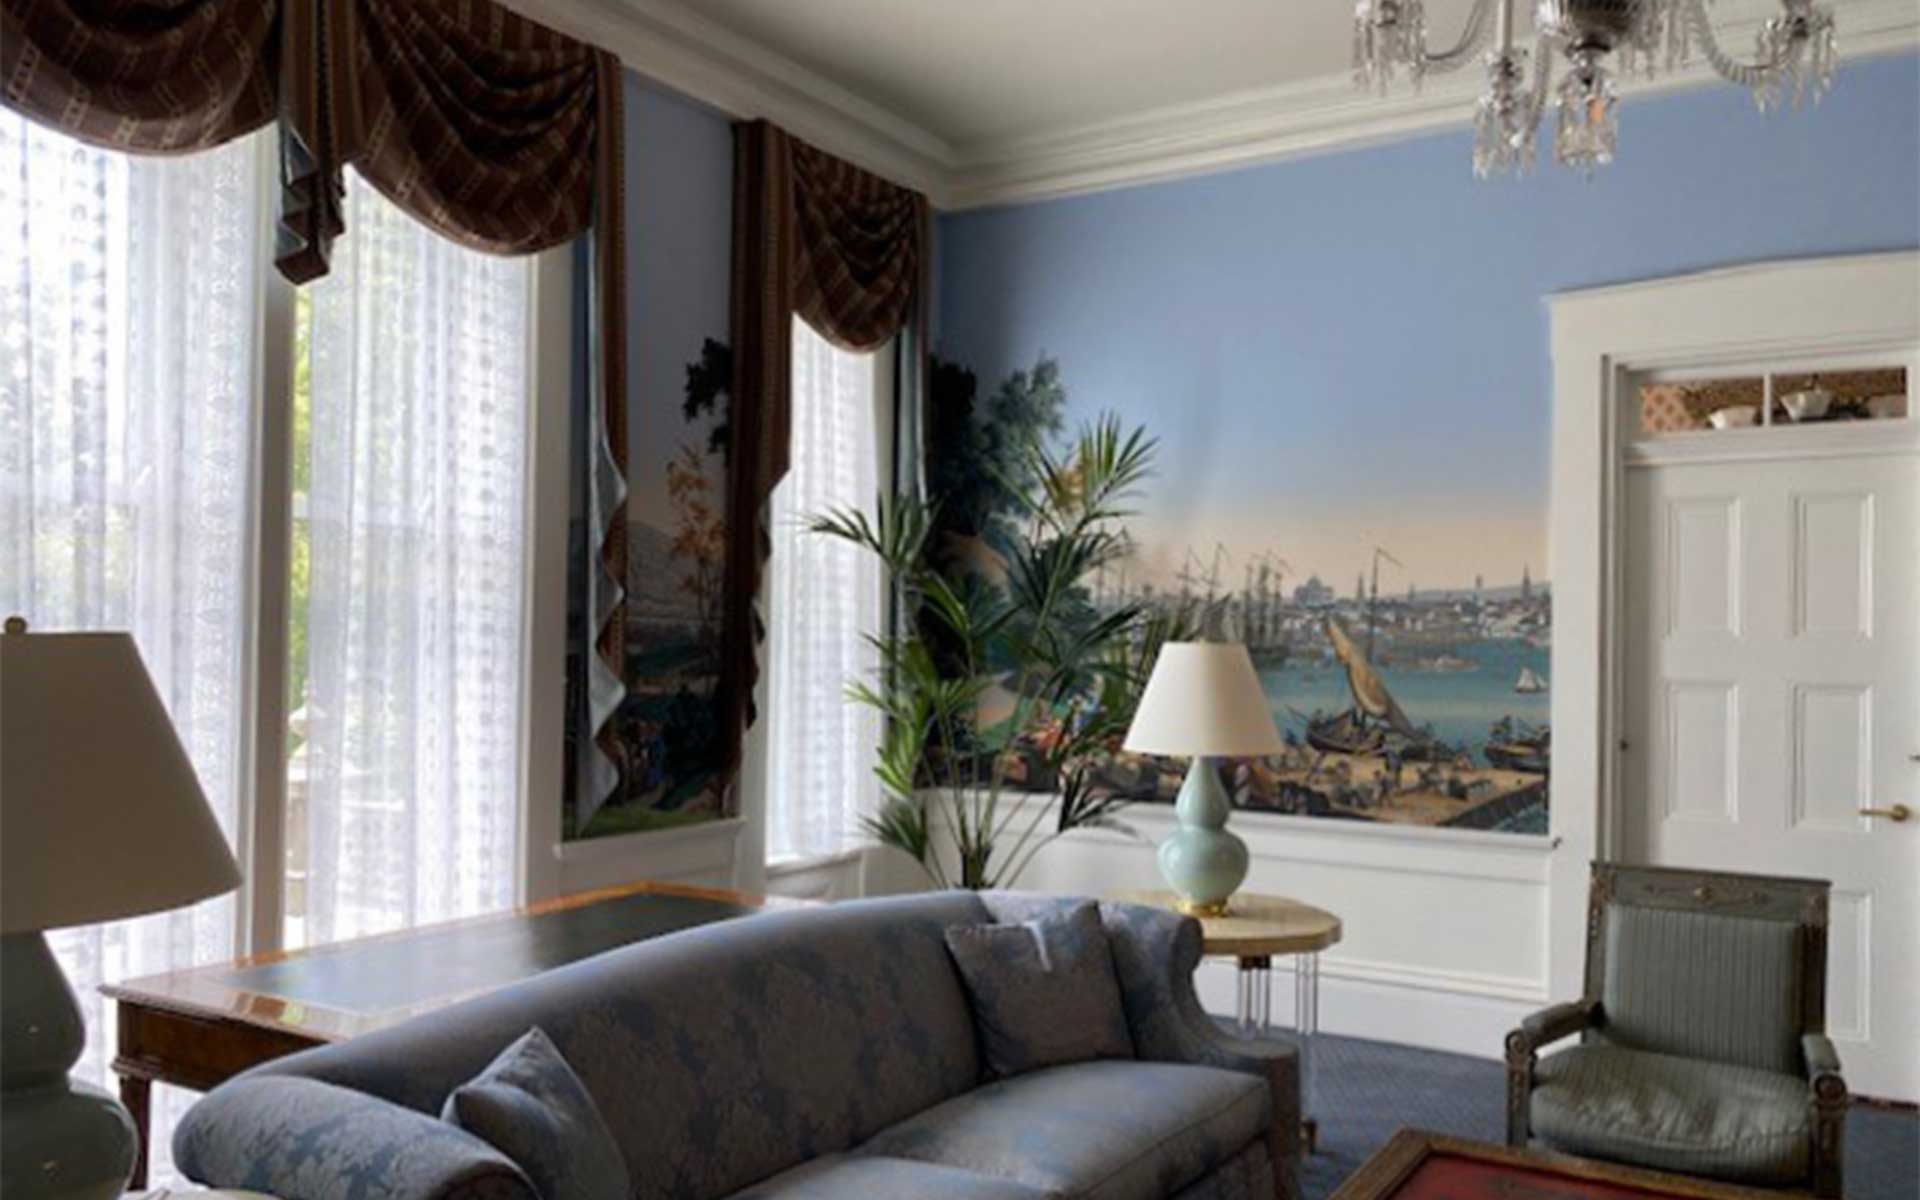
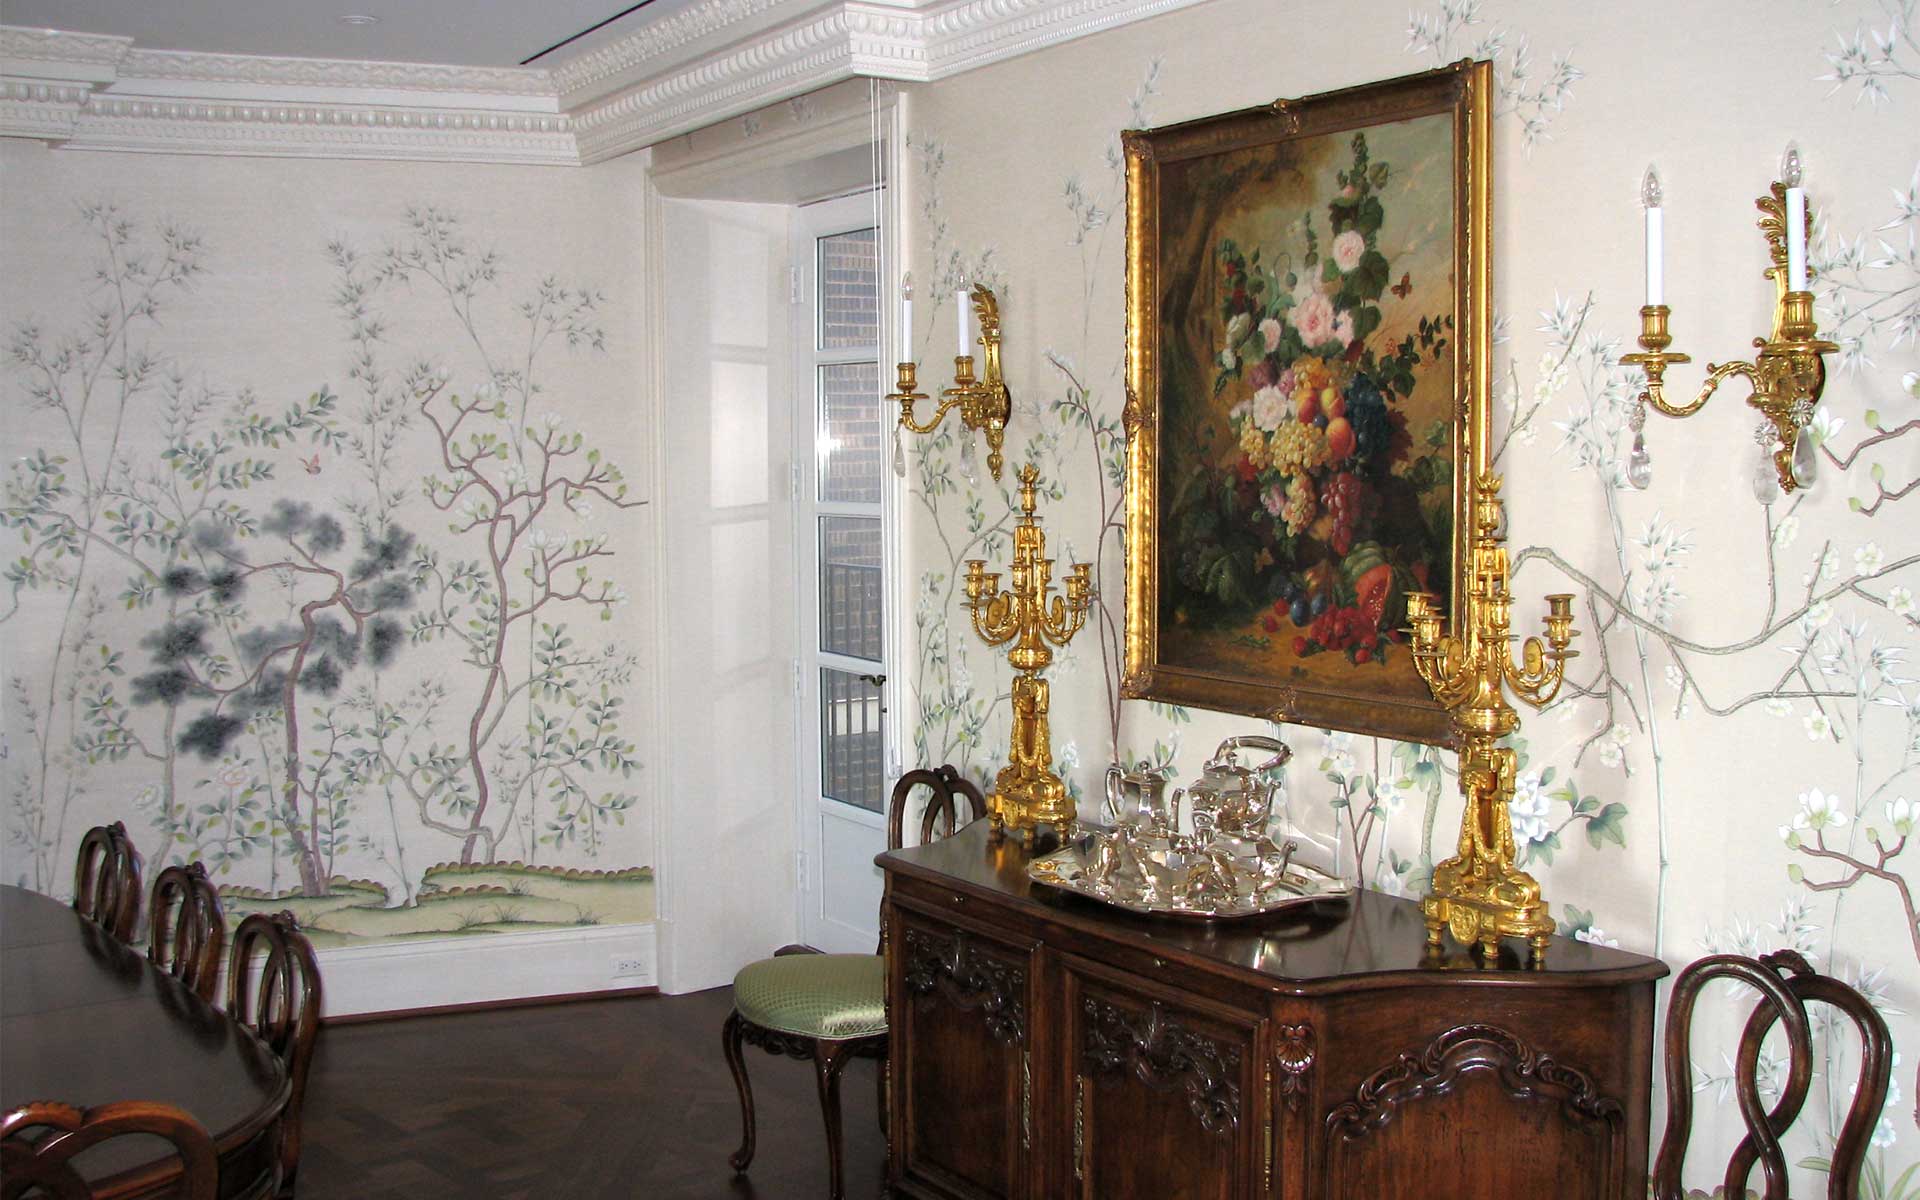
Another step in the process of properly preparing the walls for the high-end wallcoverings, like the popular hand-painted brands, Gracie and de Gournay, is to install the liner paper.
“Gracie and Hester Decorating have worked together for decades. The handpainted nature of our product calls for the highest level of expertise and craftsmanship during installation. Hester Decorating has consistently delivered for Gracie and our designer clients. In terms of customer service and communication, Hester Decorating has always been a pleasure to work with.”
Mike Gracie | PresidentGracie
Most high-end papers require it, and this step should never be skipped. If the liner paper is not installed, the difference should be visible to the naked eye. As the paste starts to dry, the seams will start to pull apart, ruining the wallcovering. Adding liner paper, properly, should keep your wallpapers intact.
There is only one way to properly install liner paper, and it should be left to the professionals. The cost of repairing an improperly installed liner will be significantly higher than just doing it the right way, right away.
Your Exclusive Wallcovering is Ready for Installation
Once the preparation steps are all completed, and the walls are smooth, the installation can begin. Good luck with your project!
Feel free to contact Hester Painting & Decorating for any pricing for installing your beautiful exclusive wallcoverings. With over 50 years of experience, we are the only resource you need in order to ensure the proper preparation and subsequent installation of your wallcovering.
Also, keep in mind that our craftsmen do travel across the country for commercial and high-end professional installations. Call us to get a quote for your project!
